yeziruo 发布的文章

1.使用OpenSSL来为自己签发证书

#1 生成私钥
root@one:~/nodejs/CA# openssl genrsa 1024 > /pathway/private.pem
-bash: /pathway/private.pem: No such file or directory
root@orangepione:~/nodejs/CA# openssl genrsa 1024 > private.pem
Generating RSA private key, 1024 bit long modulus
..++++++
...............++++++
e is 65537 (0x10001)
#2 生成签发请求
root@one:~/nodejs/CA# openssl req -new -key private.pem -out csr.csr
You are about to be asked to enter information that will be incorporated
into your certificate request.
What you are about to enter is what is called a Distinguished Name or a DN.
There are quite a few fields but you can leave some blank
For some fields there will be a default value,
If you enter '.', the field will be left blank.
-----
Country Name (2 letter code) [AU]:
State or Province Name (full name) [Some-State]:
Locality Name (eg, city) []:
Organization Name (eg, company) [Internet Widgits Pty Ltd]:
Organizational Unit Name (eg, section) []:
Common Name (e.g. server FQDN or YOUR name) []:192.168.3.199
Email Address []:

Please enter the following 'extra' attributes
to be sent with your certificate request
A challenge password []:
An optional company name []:
#3 提交签发
root@one:~/nodejs/CA# openssl x509 -req -days 365 -in csr.csr -signkey private.pem -out ca.crt
Signature ok
subject=/C=AU/ST=Some-State/L=/O=Internet Widgits Pty Ltd/OU=/CN=192.168.3.199
Getting Private key

2.服务端代码

var https = require('https');//引用https模块
var fs = require('fs');

var options = {
    key: fs.readFileSync('./CA/private.pem'),//私钥
    cert: fs.readFileSync('./CA/ca.crt')//证书
};

https.createServer(options,function(req,res){
    res.writeHead(200);//200响应
    res.end('hello world\n');//发送数据
}).listen(443);//监听默认的https端口

3.效果
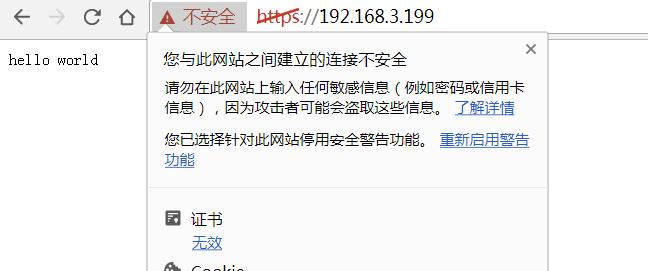
212_1.png

由于是自签名证书,所以游览器显示不安全的连接是正常的。

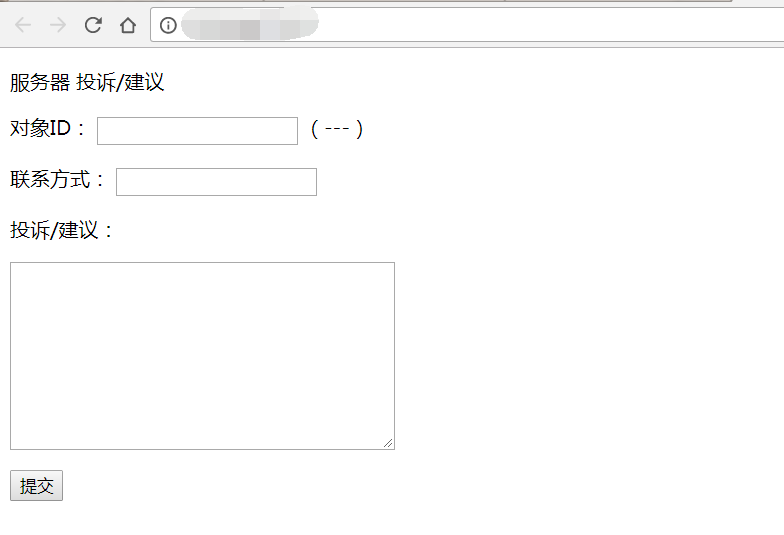
学习了Nodejs的Post后写的一个非常简易的留言板。

一共三个文件:main.js(主程序),index.html(页面模板),input.txt(留言内容)。

var http = require('http');
var fs = require("fs");
var querystring = require('querystring');
http.createServer(function (req, res) {
    var post = '';
    req.on('data',function(chunk){
    post += chunk;//接收来自游览器的Post信息
    console.log(chunk);
    })
    req.on('end',function(){
        post = querystring.parse(post);//Post数据转换
        console.log('post:',post);
        res.writeHead(200, {'Content-Type': 'text/html; charset=utf8'});//请求头,一定要加,否则游览器访问会变成下载这个网页
        var data = fs.readFileSync('index.html');//同步读取
        if(post.id && post.user && post.text){//判断数据是否为空
            if(input(post.id,post.user,post.text) != -1){//判断报错
                res.write('感谢反馈!');
            }else{
                res.write('ERROR');
            }
        }else{
            res.write(data.toString());//返回表单
        }
        res.end();
    });
}).listen(80);
function input(id,user,text){
    var data = fs.readFileSync('input.txt');//同步读取
    data += JSON.stringify({'id':id,'user':user,'text':text});//以JSON的方式存储信息,input.txt必须存在,否则报错
    data += '\n';
    fs.writeFile('input.txt',data,{flag:'w',encoding:'utf-8',mode:'0666'},function(err){
     if(err){
         return -1;
     }});
}

175-1.png

证书是阿里云的免费单域名证书,采用文件验证方式,用DNS有点麻烦。

161-1.png

1.切换至Nginx目录,打开nginx.conf配置文件

cd /etc/nginx/sites-enabled/
nano default
(or vim default)
如果你改过,不一定是default

161-2.png

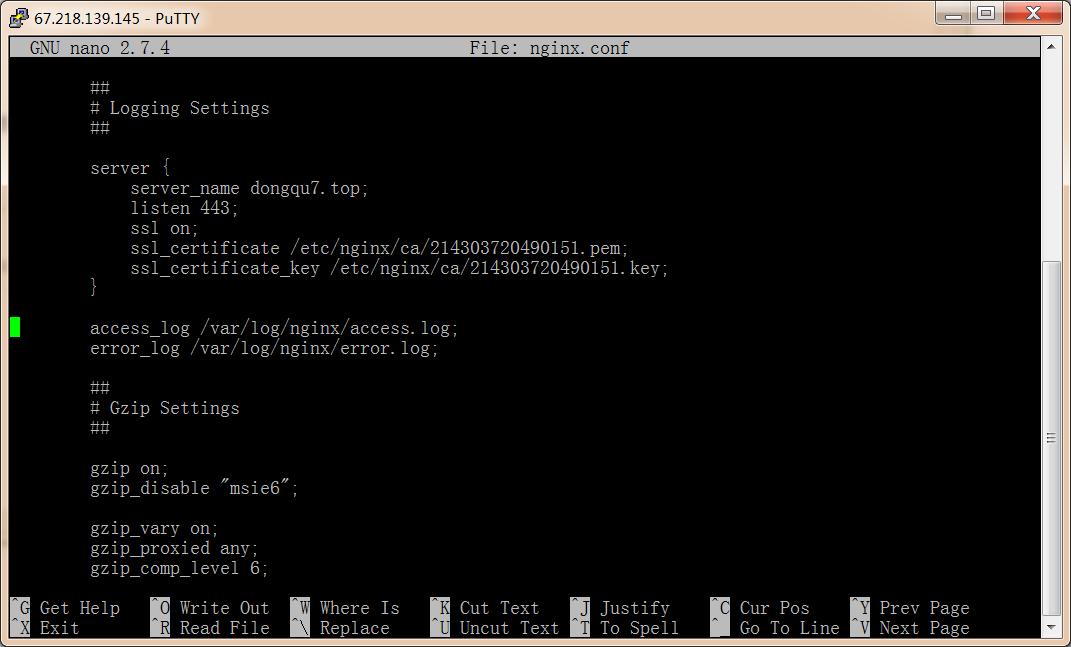
2.在http里添加如下的配置

server {
    server_name 你的域名;
    listen 443;
    ssl on;
    ssl_certificate 证书目录;
    ssl_certificate_key 私匙目录;
}
# Ctrl+O保存 Ctrl+X退出

161-3-.png

3.重启,检查是否正常

root@debian:/etc/nginx# nginx -t
nginx: the configuration file /etc/nginx/nginx.conf syntax is ok
nginx: configuration file /etc/nginx/nginx.conf test is successful

root@debian:/etc/nginx# /etc/init.d/nginx restart
[ ok ] Restarting nginx (via systemctl): nginx.service.

161-4.png
161-5.png
161-6.png

我好难受,懒得解决了,https访问出现:

此网站无法提供安全连接

也许是百度云加速的锅,或者是我配置的锅,改天看看吧。

126-1.png

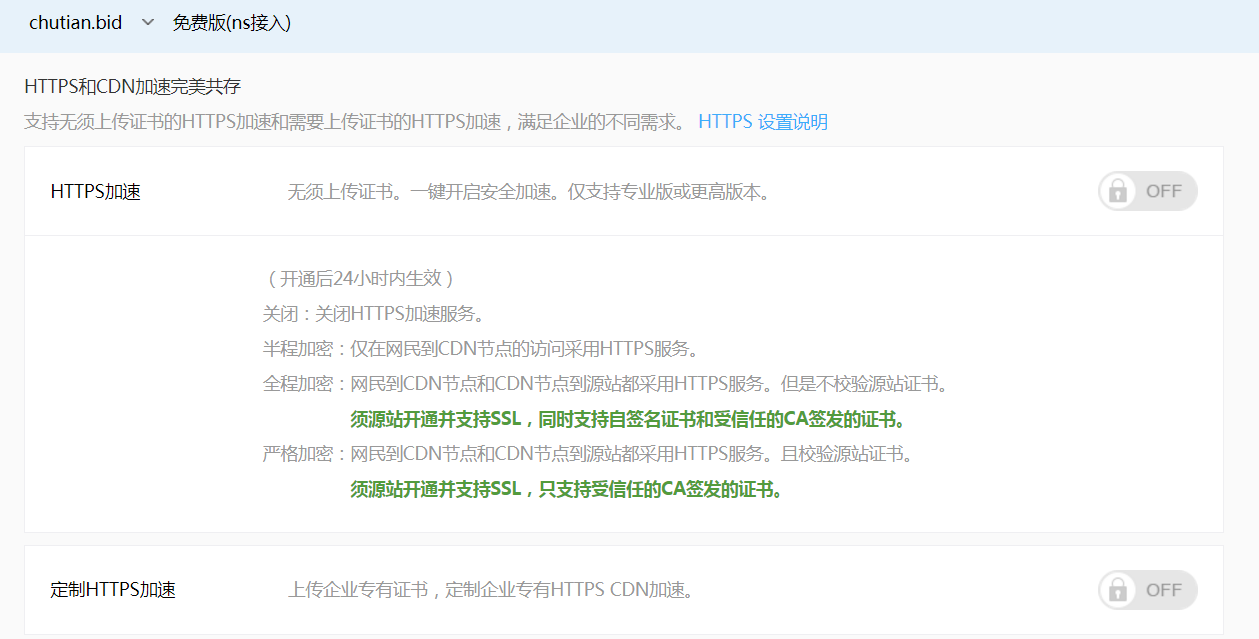
已解决:百度云加速的锅,回源访问正常,垃圾百度云加速还要收费。

初学Nodejs的练手之作,可能有细节处理不好。

代码还是比较简单的,用了oshttp模块,返回json数据。

var http = require('http');//引用模块
var os = require('os');
var netdev = "wlan0";//网卡名
http.createServer(function (req, res) {
    var net = os.networkInterfaces();
    res.writeHead(200, {'Content-Type': 'application/json'});//Http响应头
    res.write("["+JSON.stringify({//生成json数据
        hostname:os.hostname(),
        platform:os.arch()+"-"+os.platform()+os.release(),
        uptime:os.uptime().toFixed(0),//系统运行时间取整
        load:os.loadavg(),
        totalram:(os.totalmem()/1024).toFixed(0),
        freeram:(os.freemem()/1024).toFixed(0),
    }));
    //网卡信息
    res.end(","+JSON.stringify({//生成json数据
        address:net[netdev][0]["address"],
        family:net[netdev][0]["family"],
        internal:net[netdev][0]["internal"]
    })+"]");
}).listen(80);//监听端口
console.log('Server running at http://192.168.3.184');


84-3.png

#!/bin/sh
echo 'LAMP Setup'
echo '1.Setup'
echo '2.Remove'
echo '3.Quit'
read a
if [ $a -eq 1 ]; then
    echo "----------------------------------------------------"
    echo "Setup"
    echo "----------------------------------------------------"
    echo "Apt-get update"
    echo "----------------------------------------------------"
    echo "Do you want to continue?"
    echo "1.yes"
    echo "2.no"
    read b
    if [ $b -eq 1 ];then
        apt-get update
    fi
    echo "----------------------------------------------------"
    echo "Apache2 Setup"
    echo "----------------------------------------------------"
    sudo apt-get -y install apache2
    echo "----------------------------------------------------"
    echo "PHP5 Setup"
    echo "----------------------------------------------------"
    sudo apt-get -y install php5
    echo "----------------------------------------------------"
    echo "MySQL Setup"
    echo "----------------------------------------------------"
    sudo apt-get -y install mysql-server
    sudo apt-get -y install php5-mysql
    echo "----------------------------------------------------"
    echo "Apache2 Restart"
    echo "----------------------------------------------------"
    sudo service apache2 restart
    echo "Apache2 Restart OK!"
    echo "----------------------------------------------------"
    echo "OK!"
    echo "----------------------------------------------------"
elif [ $a -eq 2 ];then
    echo "----------------------------------------------------"
    echo "Remove"
    echo "----------------------------------------------------"
    echo "Apache2 Remove"
    echo "----------------------------------------------------"
    apt-get autoremove --purge -y apache2
    echo "----------------------------------------------------"
    echo "PHP Remove"
    echo "----------------------------------------------------"
    apt-get autoremove --purge -y php5
    echo "----------------------------------------------------"
    echo "MySQL Remove"
    echo "----------------------------------------------------"
    apt-get autoremove --purge -y mysql-server
    apt-get autoremove --purge -y php-mysql
    echo "----------------------------------------------------"
    echo "OK!"
    echo "----------------------------------------------------"
else
    echo "-----Quit-----"
fi

#Powered by <?php echo"test-2"?>

1.安装编译环境

sudo apt-get install -y make gcc g++

1.png

2.安装依赖

sudo apt-get install -y libreadline5 libreadline-gplv2-dev

2.png

3.下载源码

wget http://www.lua.org/ftp/lua-5.3.4.tar.gz
tar zxf lua-5.3.4.tar.gz

3.png
4.png

4.编译lua

cd lua-5.3.4
make linux
sudo make install

5.png
6.png

(编译可能时间较长,等待一下就好,出现警告无视就好)

5.安装完毕,输入 lua 进入lua环境

8.png

6.删除源码

编译过后源码就没有用了,可以删除掉。

cd ../
rm -r lua-5.3.4

7.png