安装模块:
apt install python-opencv python-flask
(自动处理依赖关系)
源码:
1.easycamera
#coding=utf-8
#摄像头模块
import cv2
class easycamera:
    def __init__(self,cameraid): #初始化
        self.cap = cv2.VideoCapture(cameraid)
    def setimage(self,height,width): #设置图像高度宽度
        self.cap.set(3,width)
        self.cap.set(4,height)
    def getimage(self,format = '.jpg'): #读取图像
        ret,image = self.cap.read()
        ret,image = cv2.imencode(format,image)
        return image.tobytes()
    def writeimage(self,filename): #写图像
        ret,image = self.cap.read()
        ret,image = cv2.imencode(format,image)
        f = open(file,'w')
        f.write(image.tobytes())
        f.close()
    def getcamerainfo(self): #获取图像高度宽度
        return {'width':self.cap.get(3),'height':self.cap.get(4)}
2.server
#coding=utf-8
#服务器模块
from flask import Flask,Response
from camera import easycamera

app = Flask(__name__)
def getimage(id): #产生流
    image = easycamera(id)
    image.setimage(720,1280)
    while True:
        data = image.getimage()
        yield('--frame\r\n Content-Type: image/jpeg\r\n\r\n' + data + b'\r\n\r\n')

@app.route('/')
def index(): #主页,简单的html拼凑
    return '<html><body><h1>Web Camera</h1><img src="/getcamera"></body></html>'

@app.route('/getcamera') #取图像
def getcamera():
    return Response(getimage(0),mimetype='multipart/x-mixed-replace; boundary=frame')

if __name__ == '__main__':
    app.run(host='0.0.0.0',port=80, debug=True)
解析:
mimetype='multipart/x-mixed-replace; boundary=frame'
游览器报文,请参考这篇文章,在这里是服务器向游览器发送图片流。
yield
类似于return,但与return不同的是,return执行后就不再执行return后的代码了,而yield返回后会继续执行后面的代码,在上面的代码中,不断的返回图片数据(流),请参考这篇文章。
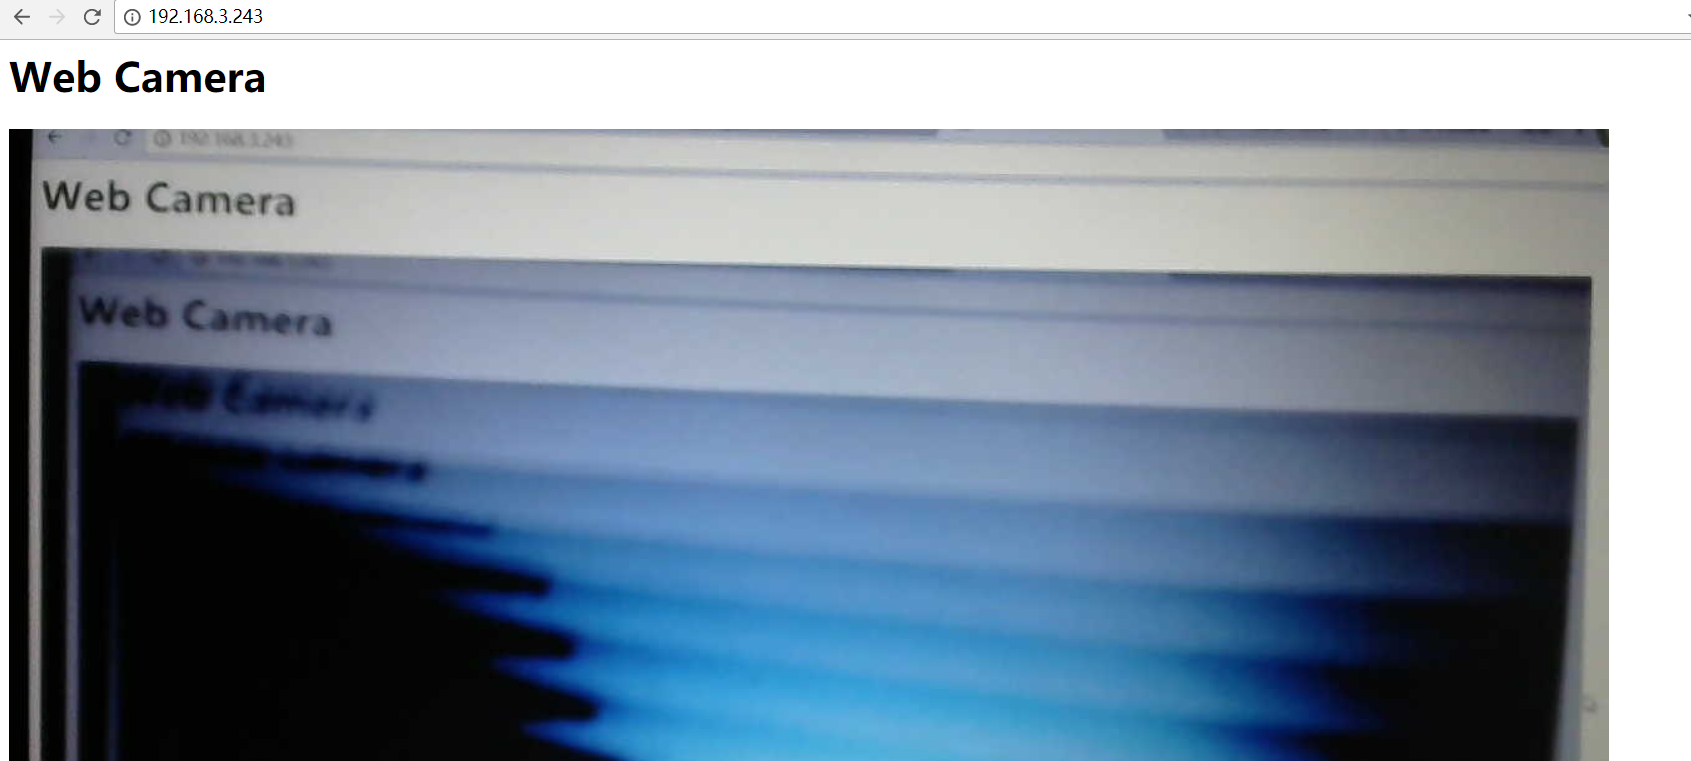
效果:
有一定的延迟,帧数还是算流畅的。


